Showing posts with label Pinterest. Show all posts

Monday, July 7, 2014

Monday Made It II & Fantastic Finds Mashup

Here's to week number two of Monday Made It, linking up with 4th Grade Frolics! I did not get any projects finished from last week due to those holiday cocktails I predicted and I started back to work at the part time job I have had since September. 
But here is the almost finished product of my hall passes. I still need to attach hooks and necklaces to the pass.
My inspiration:

I can't get into my classroom until after my pre-employment meeting and fingerprinting results. I'm feeling a little overwhelmed with what will need to be done to my classroom and I've only seen it once. But I am excited to get started and already have a rough draft plan of what "theme" I want to go with. I'm thinking black fabric for all the bulletin boards with bright neon colors for the boarders and accessories.
Below are some of my Pins from Pinterest, that I'm hoping will come together nicely in my room.

I love quotes and printables. Here are a few of my favorites that I want to have in the room.

one | two | three | four | five |

Cheers to a more productive & happy week!

Thursday, December 19, 2013

Alexander Family Christmas

I was so excited to throw our first party and combine all the things I love! 
Decorating my home for guests, finally using a lot of our wedding presents that have stayed in boxes, downing sangria, and playing drinking games.
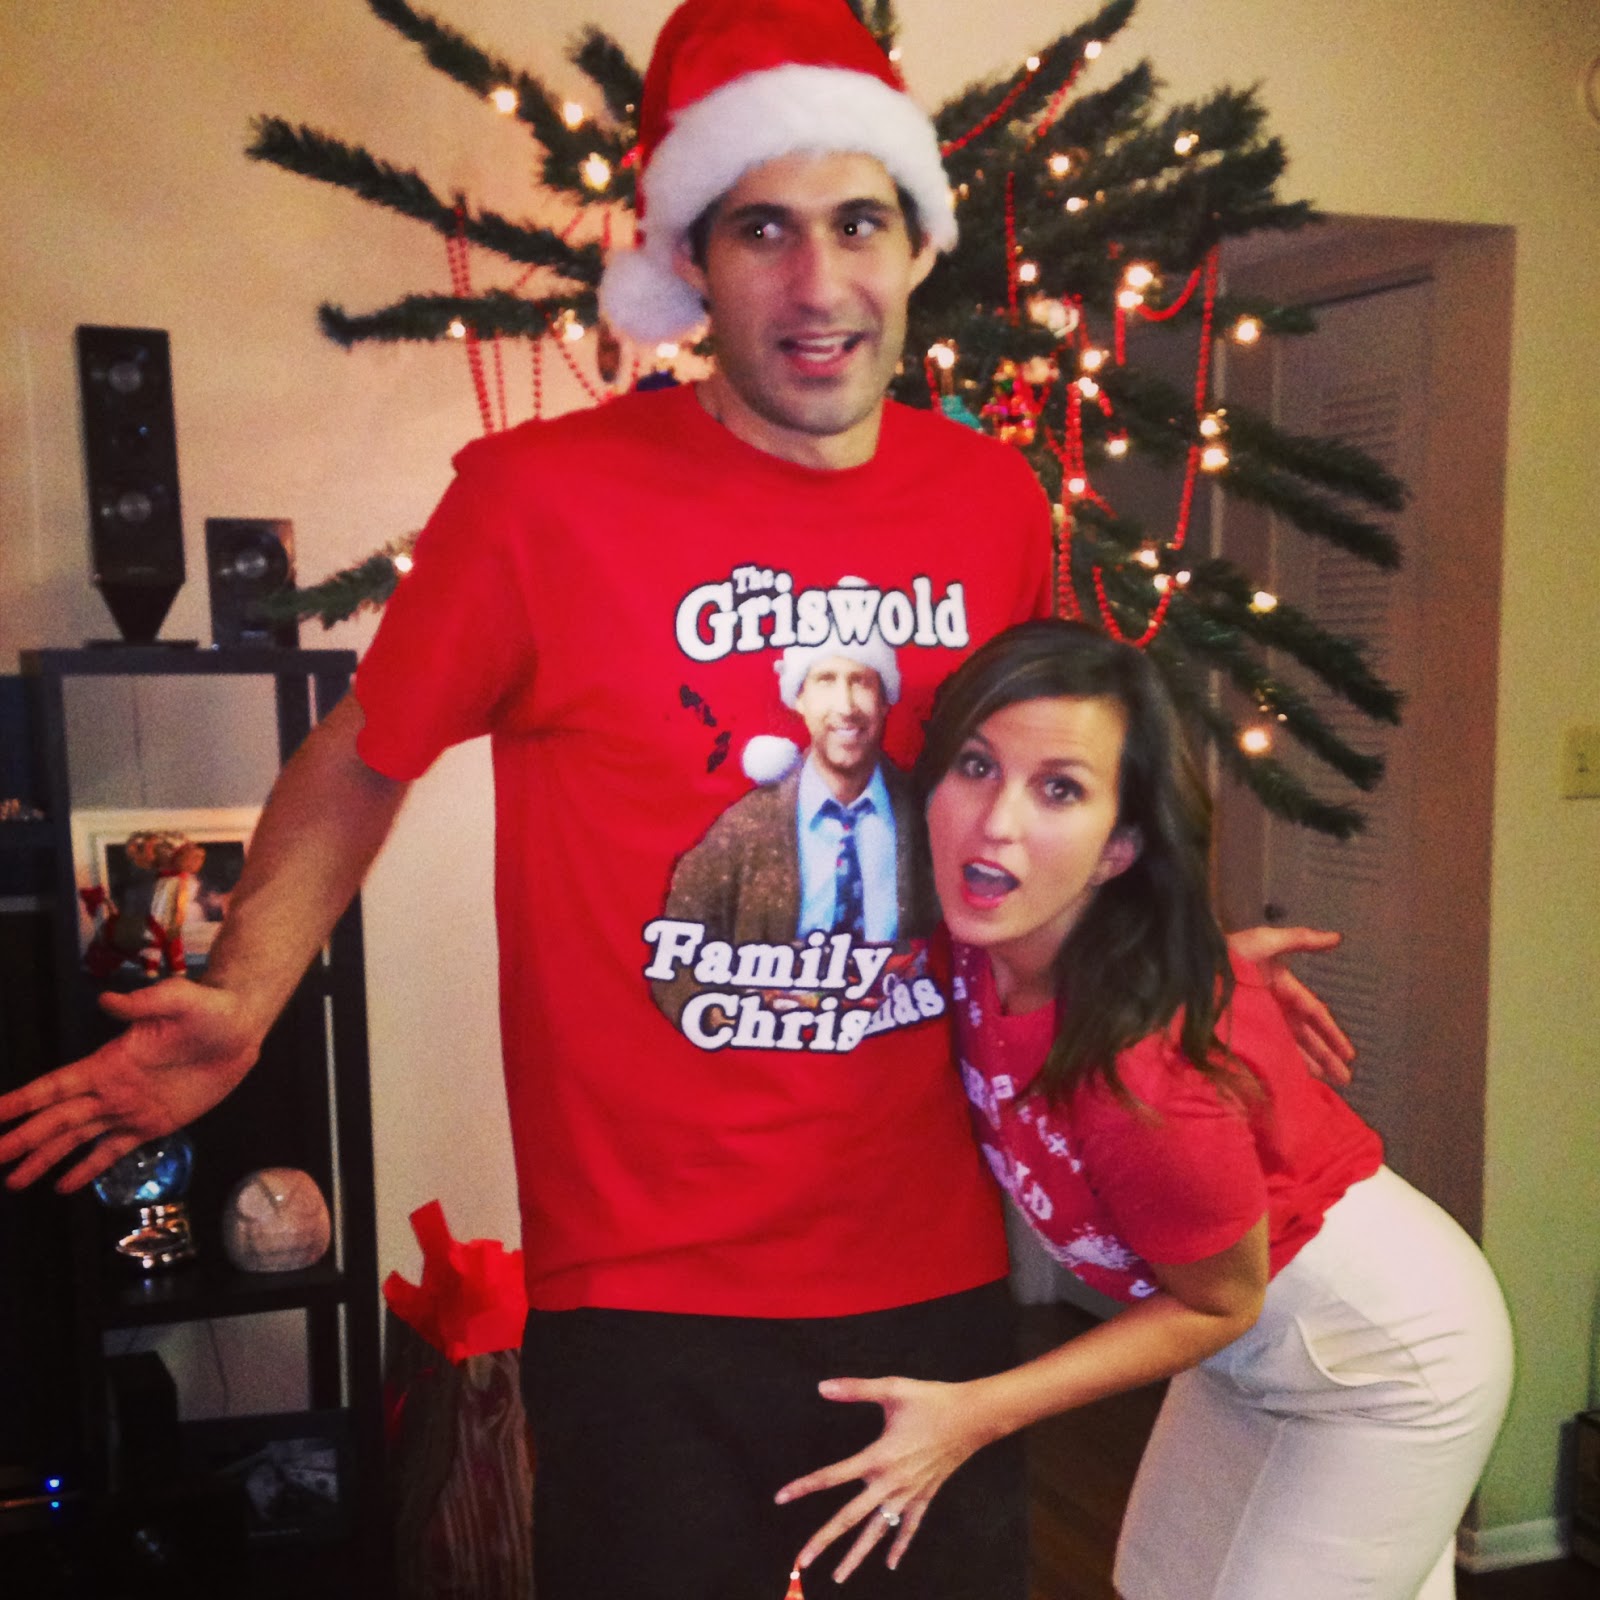
Brandon first introduced me to Christmas Vacation when we started dating, I have no idea how I had never seen this movie till then, but I've been making up for lost time. And what goes great with awesome Christmas movies? Awesome drinking games to play along with awesome Christmas movies. Thanks to one of my favorite blogs Little Baby Garvin I used her amazing rules.


All of my Christmas decorations come from pre & post Christmas sales. Almost all of it came from Target last year. I also hit the clearance jackpot at Target two days ago. They were getting ahead of the game, but I'm not complaining. I scored lots of clearance Christmas kitchen goodies--most expensive piece was a snowflake bowl for $8. Who can argue with that?

I made Winter Sangria the night before and created homemade potpourri, both were equally amazing.

Winter Sangria:
1 bottle of Pinot
1 bottle sparkling apple cider
Couple bits of mint
1 cup cranberries
1 apple sliced
1 orange sliced

Stove Potpourri:
4 cups water (boil)
1 cup cranberries
Couple bay leaves
Whole Cloves
Cinnamon sticks
1 orange sliced


Brandon's shirt is from Khols & mine is from the boy's section in Target


 Couldn't resist---I SAID FREEZE!

I have made it a mission to have the Alexander Family Christmas party every year from now on!

Sunday, July 21, 2013

A Week at the Spa

A few weeks ago I taught enjoyed a week at the Spa with a few of students at my school. Thanks to Pinterest, I was able to plan out a really fun week with eight girls and we enjoyed facials, manicures, pedicures, mediation, yoga, and a few crafts. 
Every day was a new "spa-perience" This would such a fun party-theme idea!


Here's what our week looked like:

Monday-MEDITATION DAY:  Morning yoga and stretching. I found a few yoga videos from re-sale stores (just make sure you test them out before) I did Gentle Yoga for the first three days until my students started falling asleep and saying they were bored...so I busted out Yoga Pulse. After that they didn't fall asleep anymore.


 Spa Water:

Ingredients:
2 liters water (about 8 1/2 cups)
1 teaspoon freshly grated ginger
1 medium cucumber peeled and thinly sliced
1 medium lemon thinly sliced
12 small spearmint leaves


Directions:
Mix all the ingredients together in a pitcher
Refrigerate overnight
Strain water
Enjoy over ice cubes
Add mint sprig for garnish (optional)

Recipe found here


The girls were indifferent about the taste..I on the other hand LOVED it. So I had no problem drinking their water all week. I plan on always having a pitcher of this in my house from now on.

Spa Flip Flops

I purchased an assortment of different sized flip flops from the Dollar Store and a package of Room Essentials white hand towels from Target here. The only other materials you need are scissors and a hot glue gun.


Cut the towel into thin strips

Continue to wrap around the shoe until it's covered. Hot glue on both ends.
Tie towel strips into a pretty bow and glue to the front.

Seriously, so simple and cheap! You barely need any of the hand towel to cover the flop, I think each girl used three strips. $5.00 for towel pack & $8.00 for 8 flip flops: $13 of cuteness!


Tuesday-MANICURE: We started the morning off with another yoga session and stretching. 
We then began our manicures!
First we made a Citrus Salt Body Scrub

Ingredients:
1/2 cup sea salt 
1/2 cup sweet almond oil 
(can substitute light olive oil or vegetable oil)
1/2 teaspoon lemon zest
1/2 teaspoon orange zest

In a medium dry bowl, combine all ingredients making sure to not let any water touch them as it will dissolve the salt. Pour mixture into an airtight container and store in a cool dry place.

Recipe found here


This was a BIG HIT! I have made a lemon sugar scrub before using essential oil extracts instead of the zest and I have to say using zest makes it 100% times better! The smells were fantastic! And so much cheaper than purchasing the oils.

We then soaked our hands in water and I used my very old Mary Kay Satin Feet/Hands cleansing gel and buffer scrub. We gave hand massages and then the girls painted each others nails. Myself and my assistant helped paint flowers and polka dots.

WEDNESDAY-PEDICURE DAY: Another yoga and stretching session.
I filled up large tupperware containers with warm water and added lavender bath salts to each. I also brought in my Foot Massager from our wedding registry and I knew that would be a favorite! I popped in some relaxing nature CDs and for an hour we soaked our feet and rotated into the foot massager. We ALMOST made it the whole hour with a spill.....hence the word ALMOST. After, we painted each others toe nails.


While the girls did a pedicure I made a homemade lotion. I let the girls measure out the ingredients, but it involves melting and staying by the stove, so it became a "teacher" project.  I can't seem to find the recipe I used..and I'm honestly not even sure if it worked.

THURSDAY-FACIAL DAY: After yoga and stretching we crafted sleep masks. I purchased colored foam, glitter glue, pom-poms, and ribbon. I created a template and the girls did the decorating. 

Cucumber Mint Mask:
1/4 cup cucumber, shredded with skin
1/4 cup minced, fresh mint leaves
1/2 cup aloe (I could not find this)
4 drops lavender essential oil
3 drops chamomile essential oil (I skipped this part)

1. Place all ingredients into a blender and blend until reaching smooth consistency
2. Remove, cover, and place in the refrigerator for 20 minutes
3. Apply to clean, damp skin, and leave on for 15-20 minutes
4. Rinse thoroughly with cool water

Recipe found here

Now, this didn't turn out looking likeI thought it would. It was more liquid-like and chunks of cucumber..but if I say it's looks good, the kids have no idea. So we covered our face in wet chunks of cucumber and mint.


FRIDAY-FINAL DAY: Our last yoga session, I made them do Yoga Dance, they were most definitely not falling asleep after that. We made Sprite & Gummy Bear popsicles (which need more than two hours to freeze..my bad) and homemade candles

What you’ll need:
- Soy wax flakes -Hobby Lobby
- Wick -Hobby Lobby
- Containers. I purchased Tea Light holders b/c they were $1 each
- Pitcher with spout
- Fragrance oil (I offered orange or lavender)
- Popsicle stick

Melt soy wax flakes in a double boiler, add in your favorite scents and dye. Once flakes have completely melted, set your pot away to cool down for a few seconds. In the meantime, warm up your glass containers using a blow-dryer for a minute. This will help the wax cool more evenly! Pour wax into containers, thread wick with Popsicle stick and let it cool for a few hours until solid. Cut wick about 1/4 inch long.
Recipe found here

It's opportunities like teaching this camp (& getting paid for it) that I have to pinch myself with how lucky I am and hard it will be to leave my job. I'm teaching a DIY craft class in a couple weeks and I'll make sure to do a post of what I have the kids do.
Thanks to all the blogs and websites that helped me put together such a fun week!

Friday, February 22, 2013

Pinterest Party & Valentine's Day


I've wanted to through a Pinterest Party forever and I finally pulled one together! I hosted a Valentine's theme party and I was able to have it at my friend Sara's house.


Each person was required to provide a "Pin-spired" meal, either dessert, appetizer, or drink and I would buy the supplies for our craft.


The craft I found was a Red Topiary Tree from Classy Cutter. You need 6 inch styrofoam balls,clay pot and paint it white, wooden dowel, florist foam blocks, red crepe paper, and pearls. 


We ended up not finishing our craft, partly because we started our craft a little late, and because you have make a zillion rosettes from the crepe paper. We got about half way done and will have pinterest party part two next Wednesday to finish. 


Some of the yummy treats:


Strawberry & Angel Food kabobs
Funfetti Dip

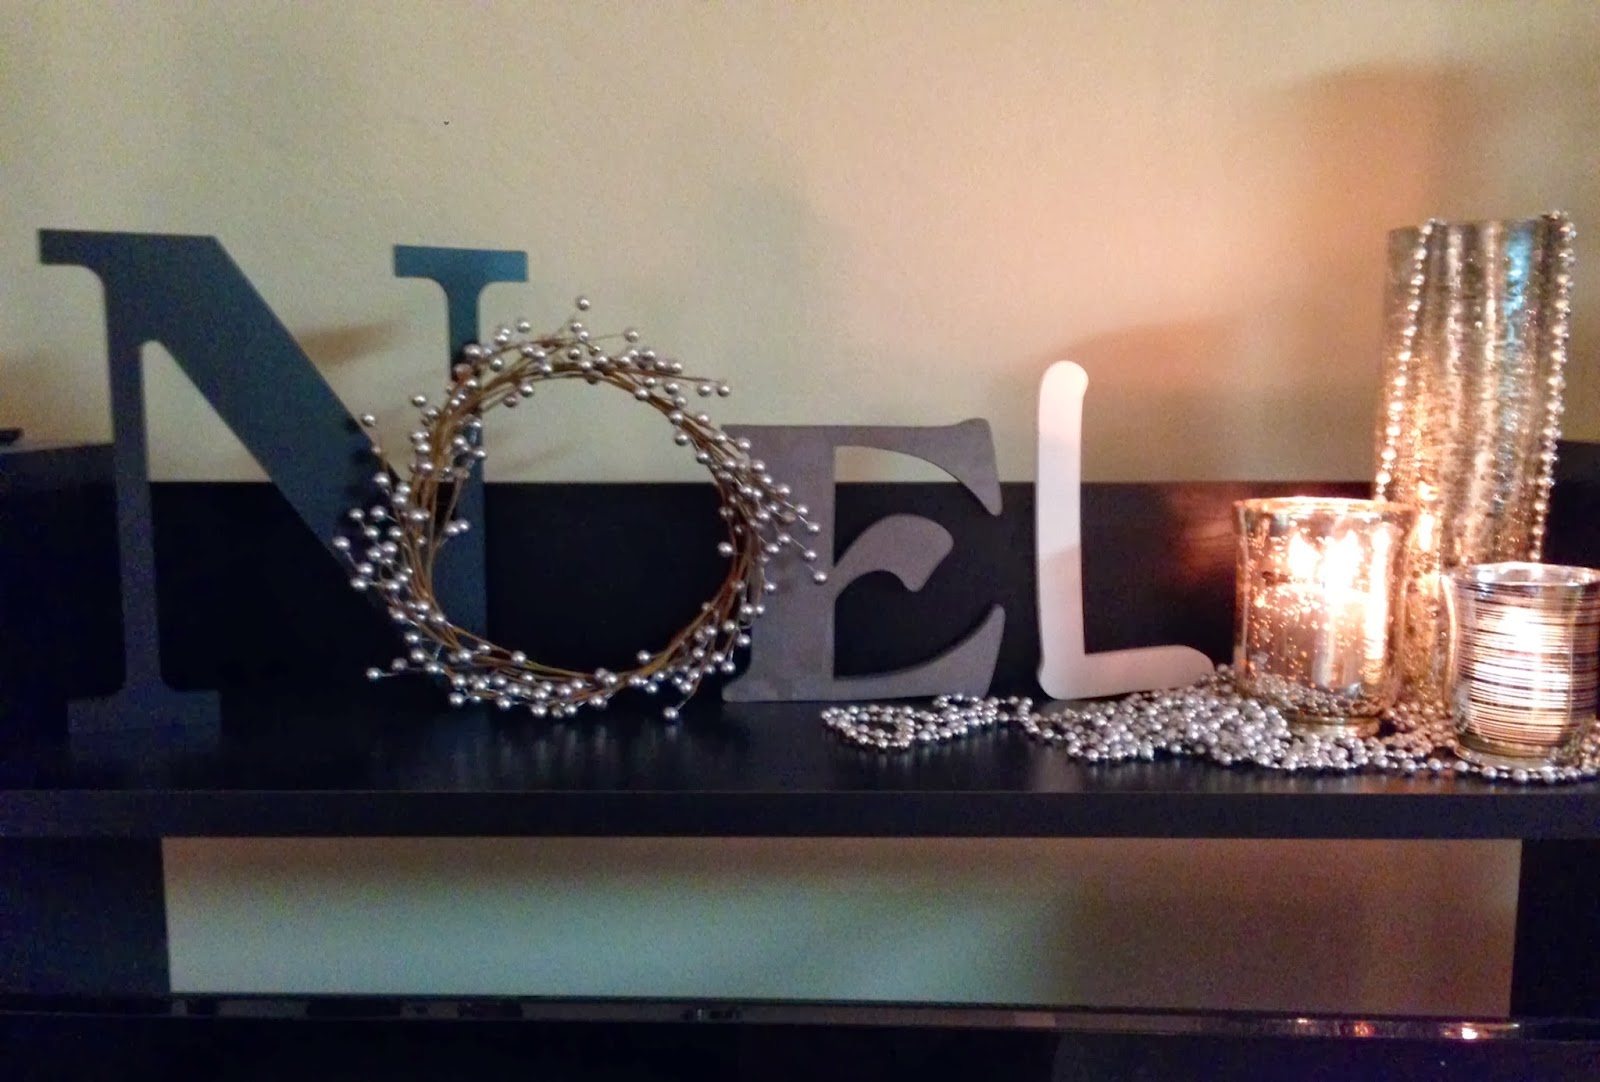
Now, my own decorations. I love having a mantle that I can decorate for each holiday, can't wait until my future one is a little bigger! And I love that I got to continue using the mercury vases from my Christmas decorations.
I'm loving the look of banners, and still have a love for printables.
I purchased red burlap, white felt, and twine from Hobby Lobby for my "lovely" banner.
Don't you just love, love?

Cut out a triangle from the burlap, cut out a heart from the felt and lightly glue down to burlap. I tried to sew the twine through the burlap but the burlap started to come apart, so back to the glue gun.


Sunday, October 14, 2012

Chalkboard Frame

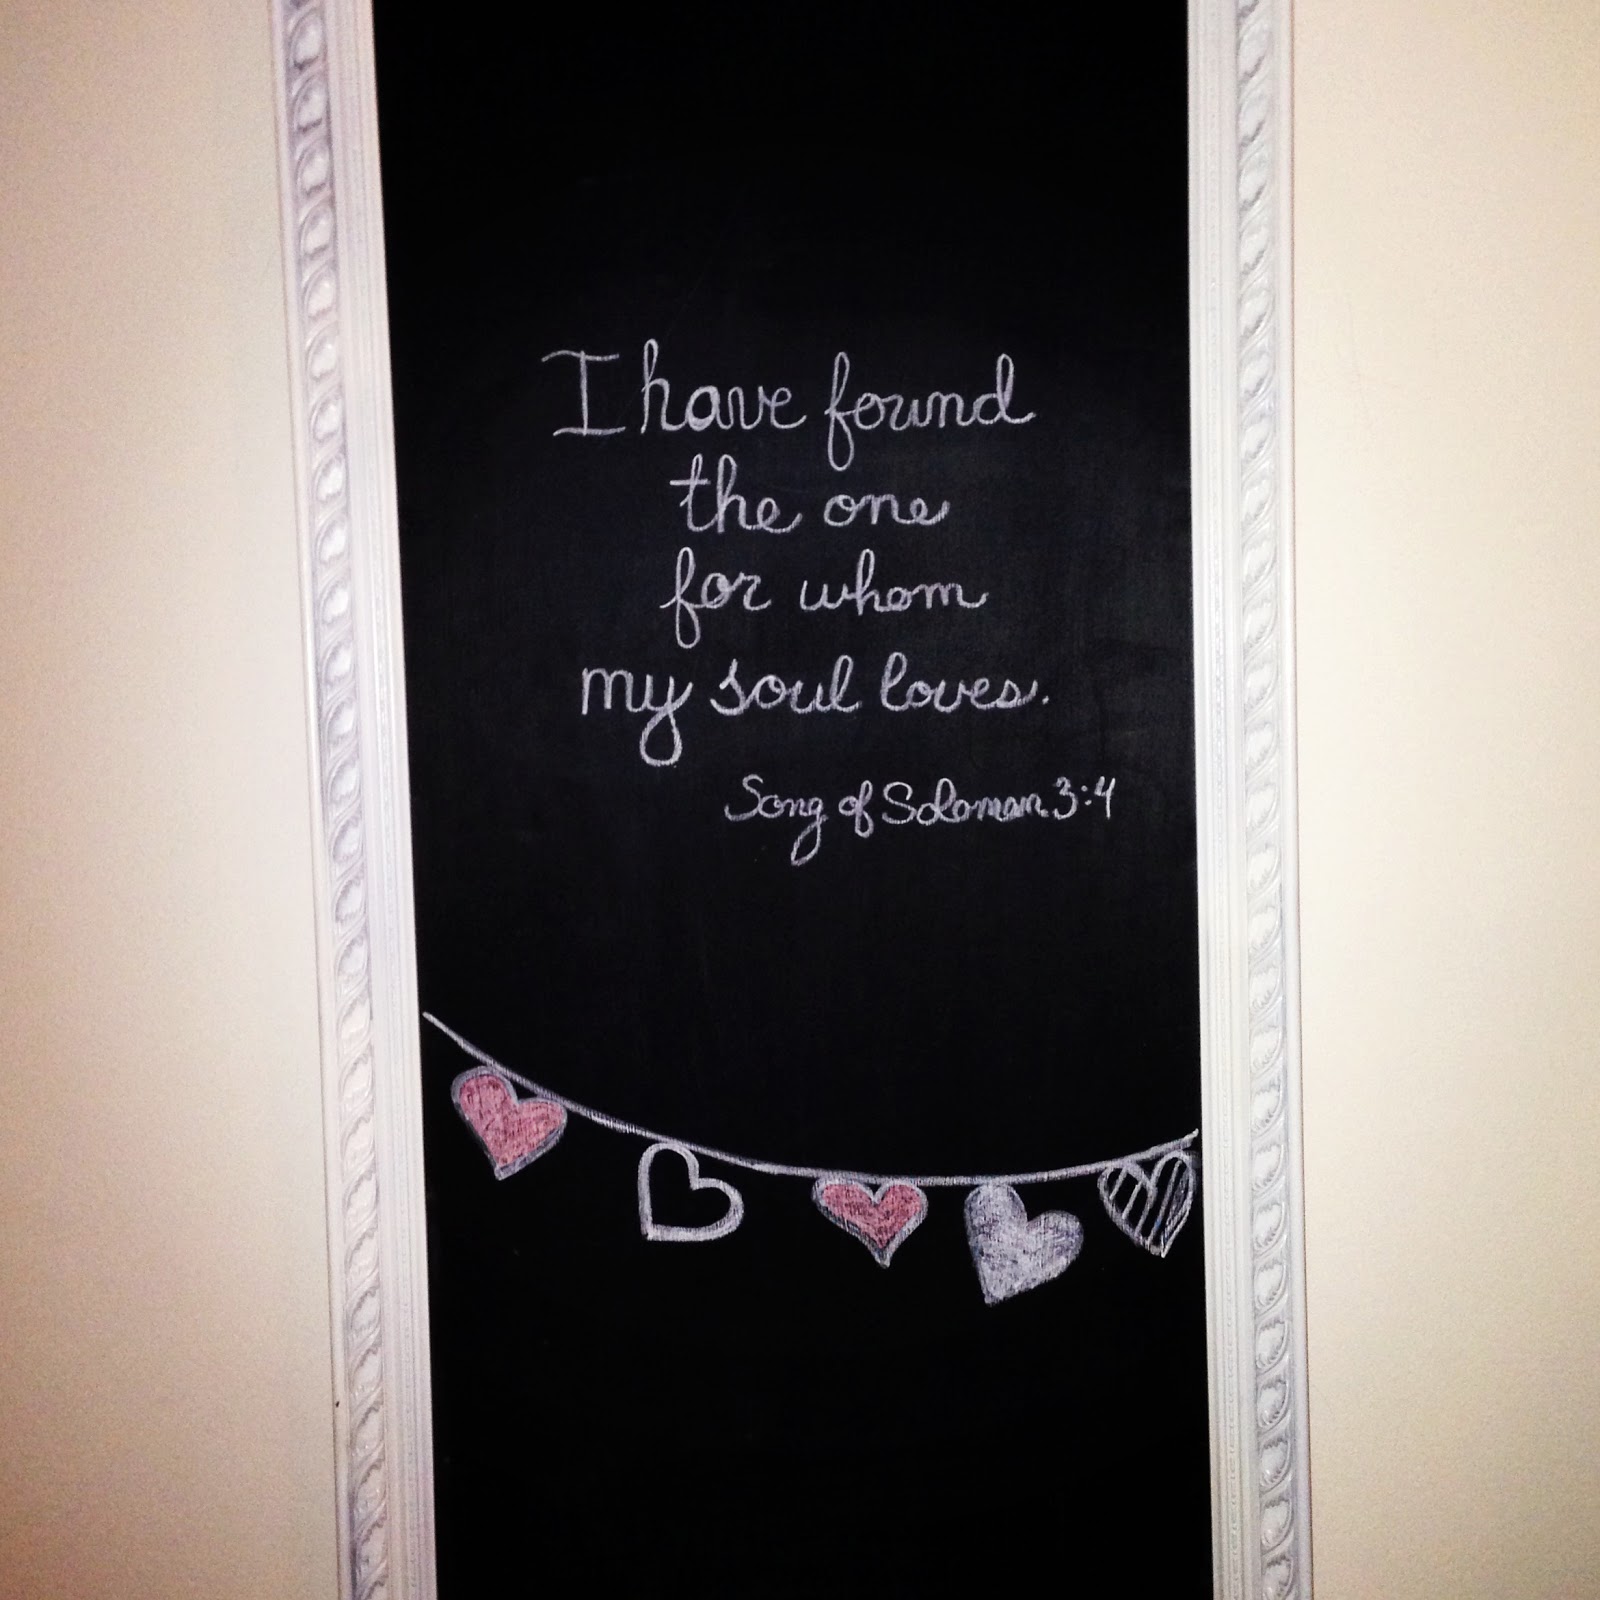
This project has been floating around Pinterest for the last year and I've always wanted to do it. I've been keeping my eye out for the perfect frame for awhile, but didn't actually start looking for one until last week. My apartment isn't located by very many Goodwills/Thrift Stores, but just south of the city is a Thrift Shop gold mine. I'm not in that area too often, but when I was getting my pink hair extension in for Breast Cancer Awareness month in Overland Park, I knew it was the perfect opportunity to go hunting on my way home. I found my winner at Red Rack Thrift.

I was looking for something tall and skinny with a lot of texture, but most importantly was that the picture inside could be removed and the backing was thick enough to take chalk board paint. 

Surprisingly the original painting isn't awful and could have been used in any home now. But it had to go. When I ripped off the brown paper on the backing I found that there wasn't wood underneath, but thick cardboard. This could be a problem...but I figured I would try to paint on it anyway.


I spray painted the frame with primer and then white spray paint. 

I had read in many posts that actual jar chalkboard paint works better than spray, so I splurged at Lowes and purchased a small can for $13. I hardly even made a dent when painting the inside, but I figured I'll be reapplying as needed and can use it for many projects to come (wedding perhaps?!?). I was happy to see that the cardboard took the chalkboard paint very well.

I love how it turned out and I can't wait to keep writing and drawing on it! This project only took a few hours to do. All the paint dried very quickly!

I used RosaArt chalk from Target.

Pinterest Chevron Pumpkin Fail

This was a first for me. A Pinterst Fail. I saw this adorable DIY to make Chevron Pumpkins HERE and thought easy-peasy! Not so much, here was my first attempt.


 I found the plastic pumpkins and painter's tape from Michaels Craft Store.

I taped them off, using and exacto-knife to trim it as needed to make the Chevron pattern (that too a few hours!) And then I spray painted. This was my downfall. With the pumpkin having grooves, no matter how much I tried to get the tape to stick, paint still found a way under the tape! It also didn't spray on very well.


Bubble Gum machine & Bud Light??


I did attempt this pinterest project again. This time I purchased more foam-like pumpkins hoping the paint would sink into the pumpkin instead of drip. I also decided to paint the little black one with acrylic  paint instead of spray, this worked alright, but I still had some leaking. My second attempt came out better, but still not great. At this point, I'm making due with my finished product and camouflaging them on my mantle so you can't tell they are a failure. 

Tuesday, September 25, 2012

Crayon Rain

I tend to have ideas/plans for projects for days (or in the this case months), sometimes even already owning all the supplies, before I actually sit down and complete them. I've had all I needed for this project since July. Over the summer I taught an Arts and Crafts {I nicknamed Pinterest Camp} class for elementary school students and I had them make the original melted crayon canvas. I was so lucky to score a Bed, Bath, & Beyond bag full of crayons from the first grade team at my school, so I was set for many, many projects.

I knew I wanted to do the melted crayon project and take it to the next level. After some research, and pinning, I found many projects who used it as "rain." So, out of my bag-o-crayons I pulled out only the blues and grays and began my project. This project literally takes less than an hour.


1. All you need is a canva in whatever size
    you want, crayons, hot glue gun, hairdryer      
    and a picture.

 2.  I used a picture of Brandon and I that
      could be cut and drawn to hold an
      umbrella and print it to the size you
      want. 

 3. Cut the picture out.


4. Trace the picture onto the canvas and add
     an umbrella.


5. Use an extra fine point sharpie to line the 
    picture and a Vellum Writer pen from
    Michaels to fill it in.


6. I used a smaller canvas, so I broke the
     crayons in smaller pieces and hot glued
     them to the top.

7. Using painters tape (which didn't work
     great) I taped a notecard over the top of
     the picture to keep off the wax.


8. As you melt it, the crayons splatter, so
     cover your silhouette with tape to
     protect it. 


9. Take your time and use a lower setting, it melts fast!


The finished product! If you noticed it's going a different direction. My first one fell into the "pinterest fail" category, the tape did not do a great job of protecting the silhouette on it's own and it melted onto the picture, so my second time around I was very careful about not allowing the wax to drip onto the tape, and because it's a smaller canvas I decided to turn it so the crayons had more room to melt.